Organizing Photos with Photo Boxes
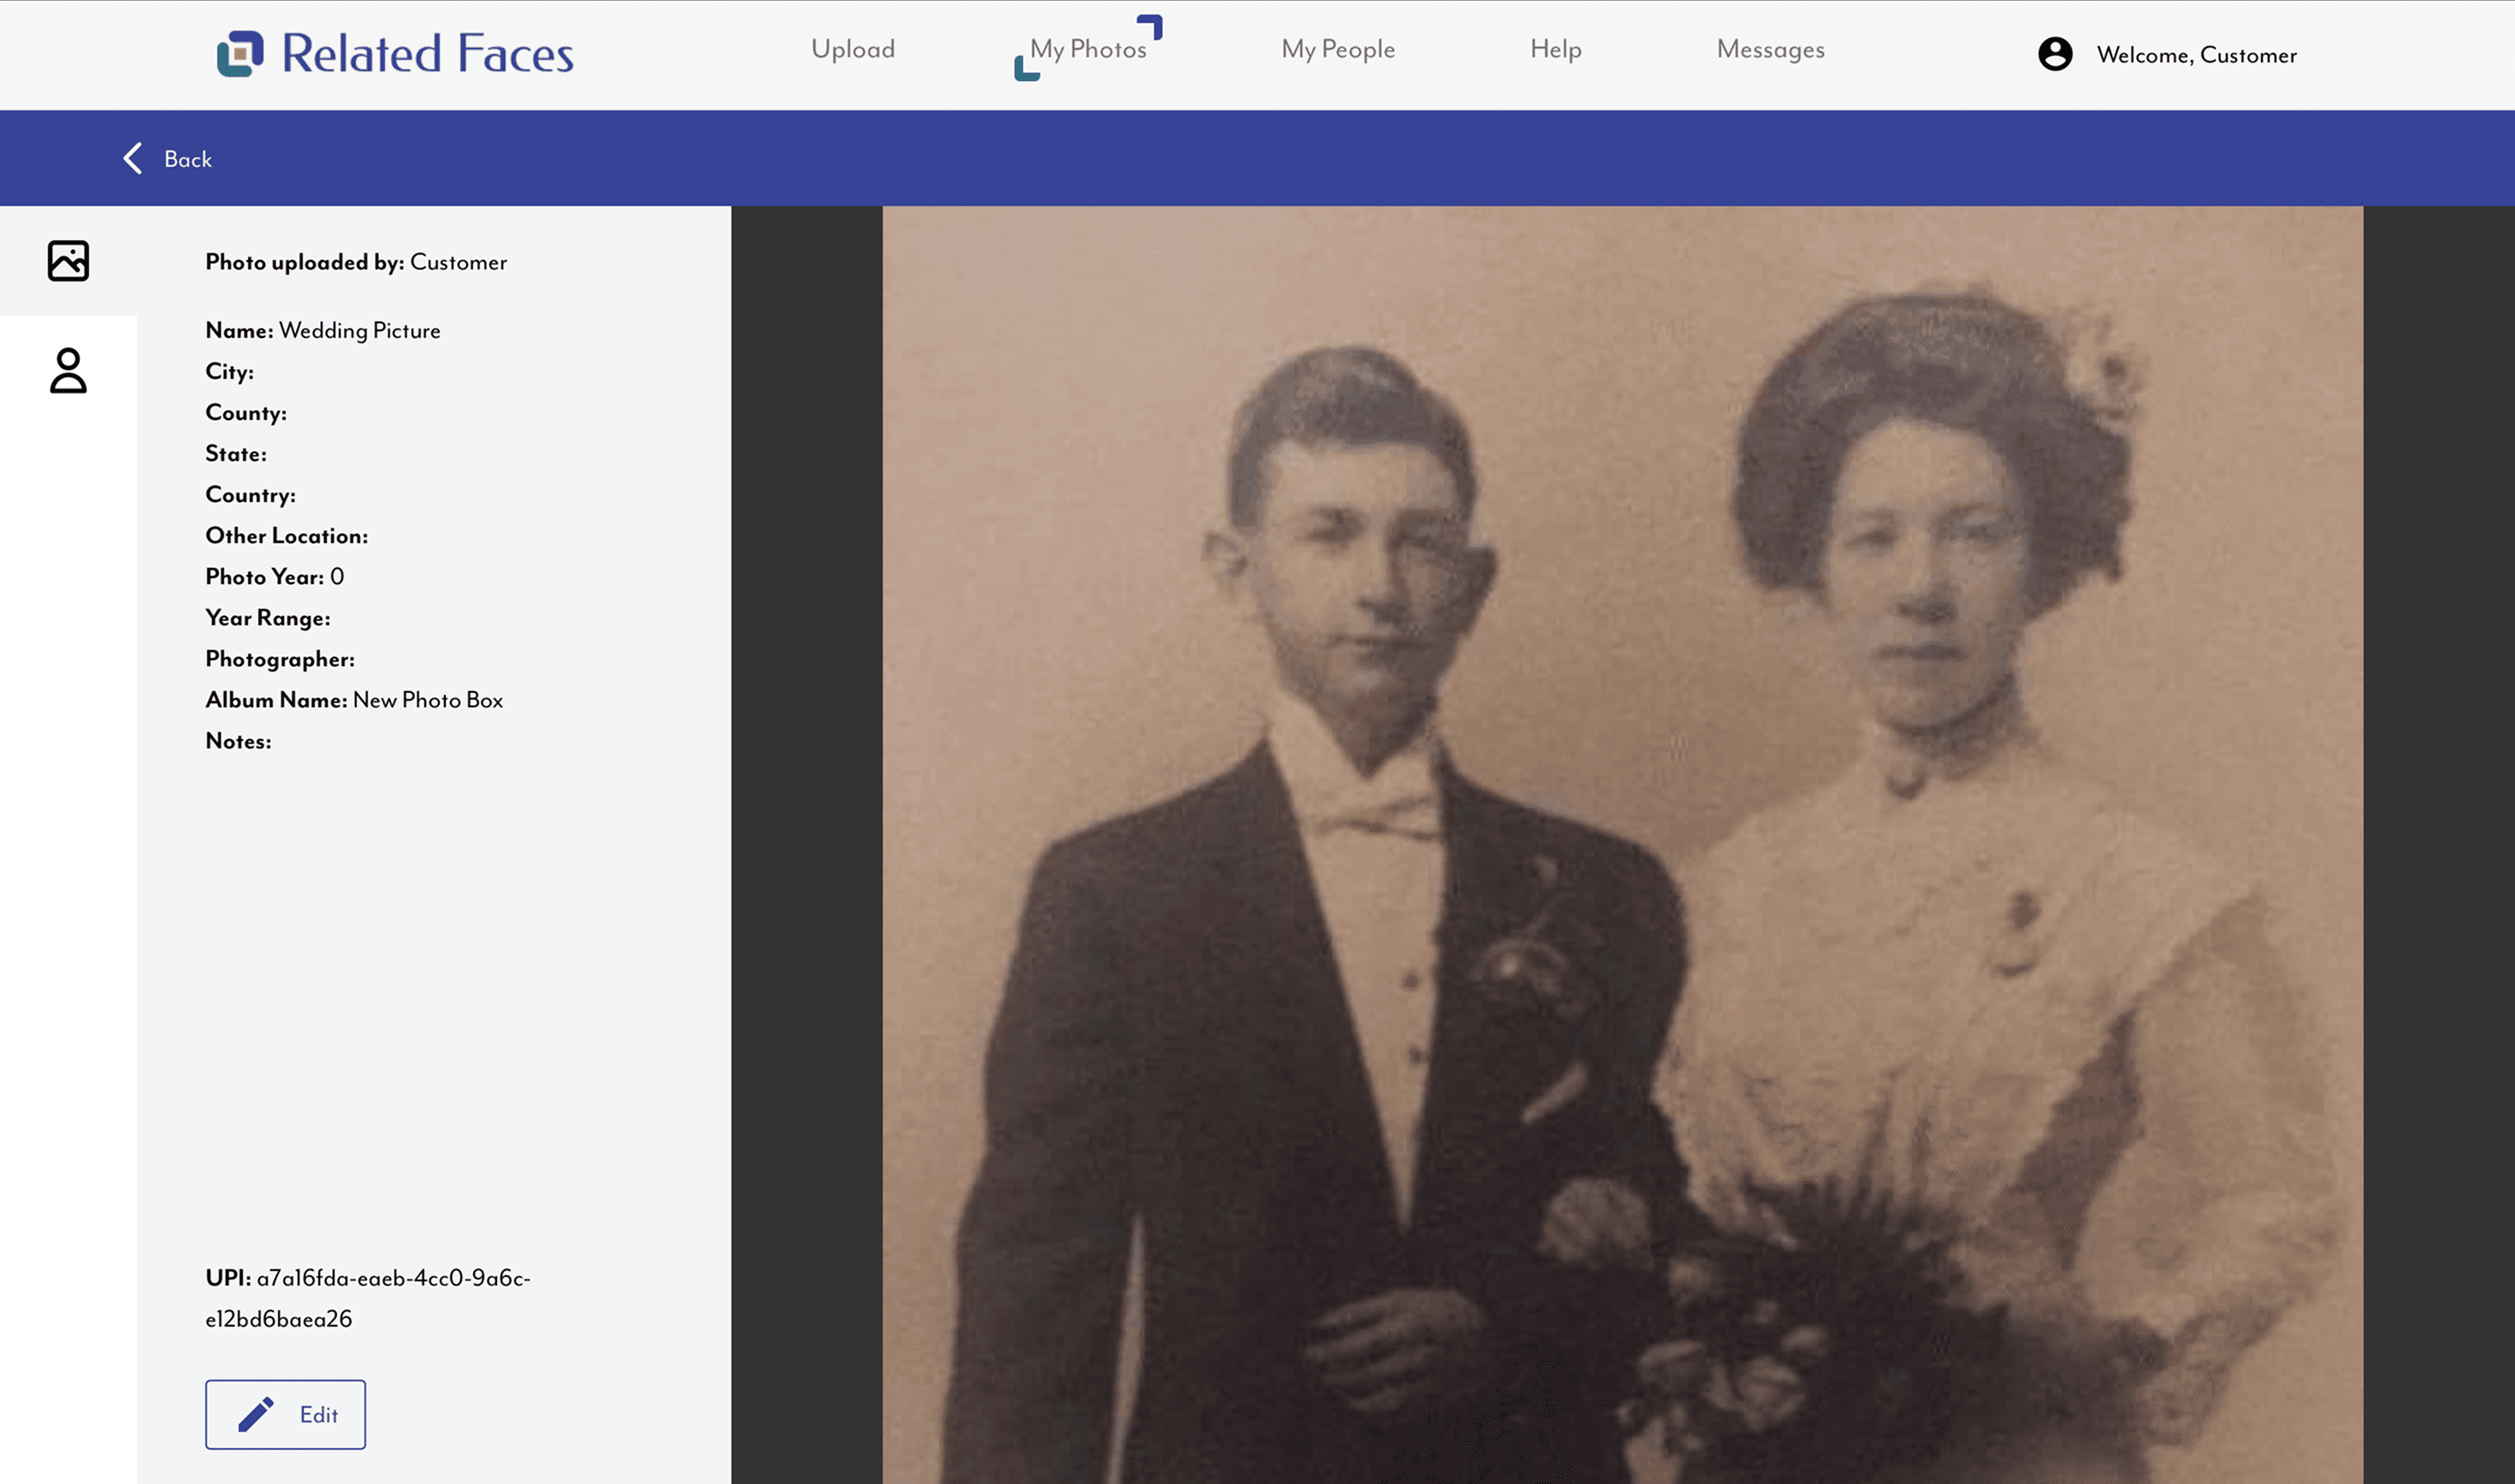
Photo Boxes help you group and organize your uploaded images into collections based on events, family lines, or your own personal system.
All uploaded photos automatically start in the General Box, our default workspace. From there, you can create new boxes and move your photos into them.
Creating a New Photo Box
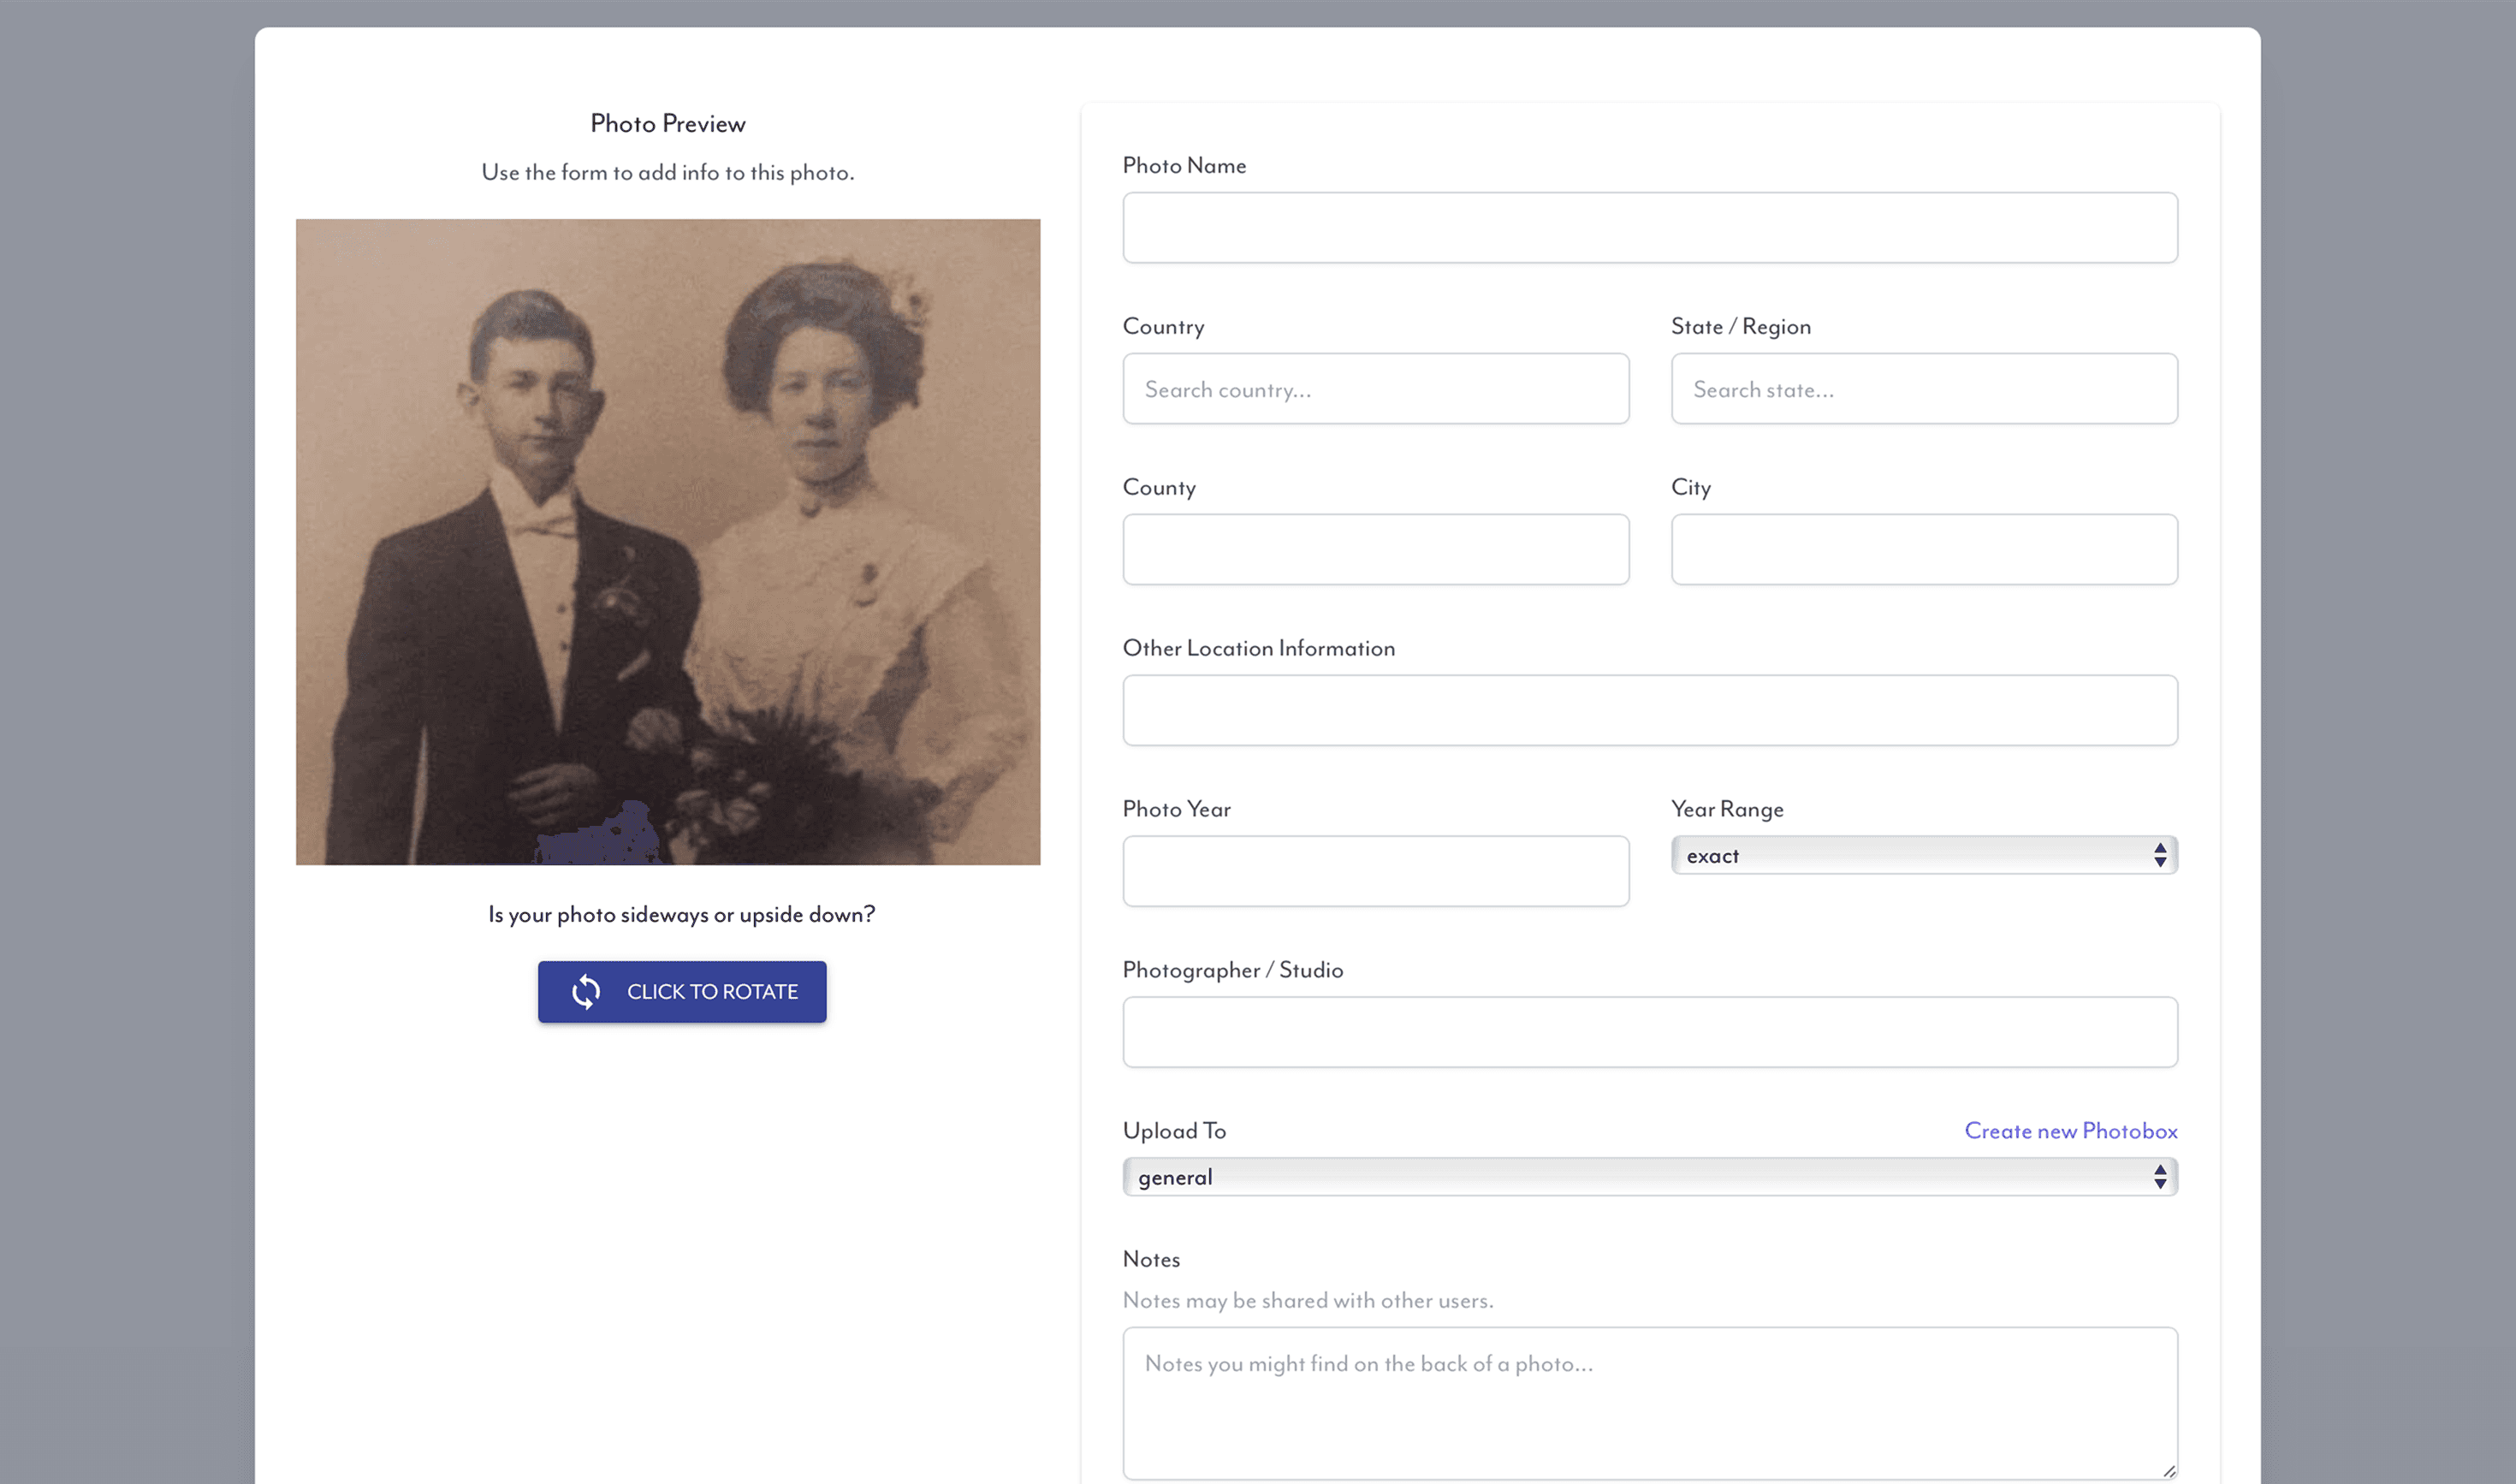
At Upload:
On desktop, after selecting your photo, enter a box name when prompted
The upload button will temporarily become a box creation button, click it to confirm the name
Your photo will upload into the newly created box
From the My Photos Page:
Click the box icon in the upper left
Select + Add Box
Name your box and press Enter
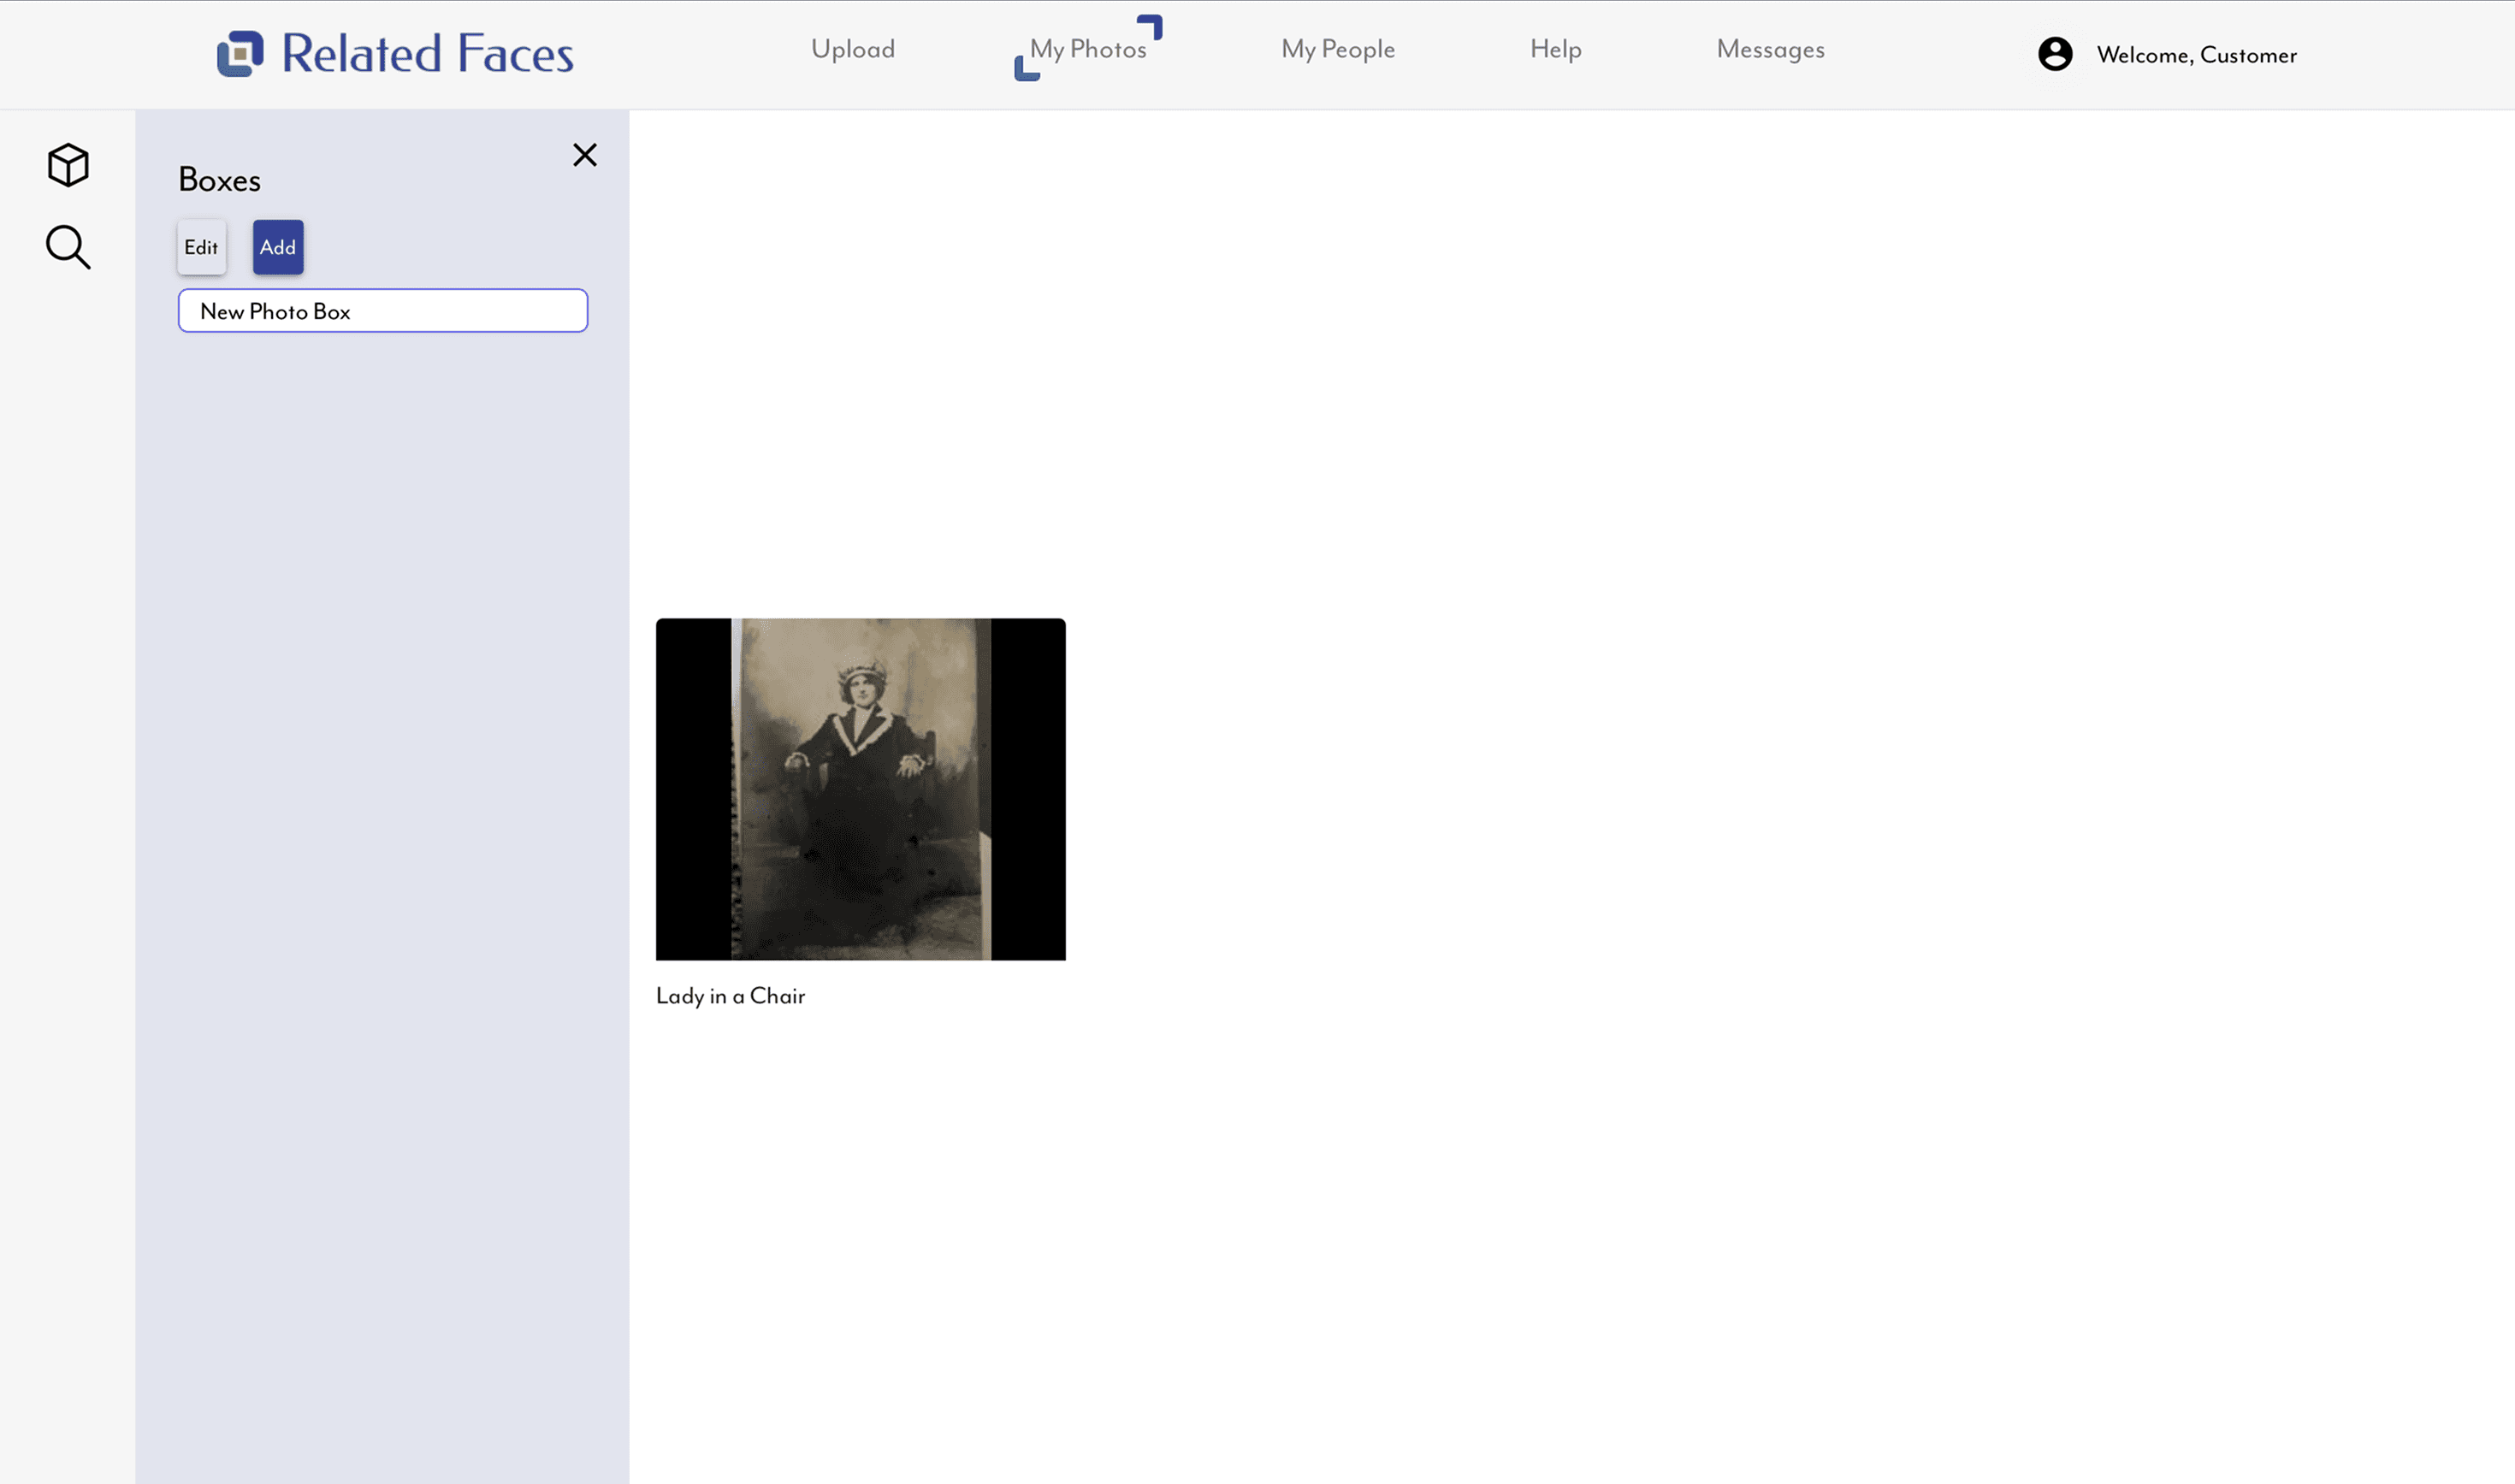
📌 You must name your boxes, we use these names for indexing and organizing your collection
Moving Photos Between Boxes
To move a photo:
Click and hold the photo
Drag it over the box you want to move it into
Release the mouse, the photo will briefly jump to the top, then appear in the target box
To remove a photo from a box:
• Drag it into the General Box, then you can move it elsewhere
⚠️ Photo Box management is currently only available on desktop
Editing Photo Boxes
You can rename or recolor any Photo Box from the Edit/Add Box panel:
Click the box icon in the top left
Click Edit, a pencil icon will appear next to each box
Click the pencil to change the name
Use the color picker to customize the box color
Click Save to confirm changes